Abrablog
Sparkling Grout: How to Clean Grout Lines in Tile Floor Easily
We've all been there, haven't we? Staring down at what was once a pristine tile floor, only to see those crisp, beautiful grout lines transformed into a murky, grime-laden mess. It's disheartening, to say the least. But what if I told you that reclaiming those bright, clean pathways between your tiles isn't a herculean task? In fact, learning how to clean grout lines in tile floor easily can be incredibly satisfying, and with the right approach, it’s a chore that can be tackled without breaking your back or your budget. Forget the endless scrubbing on your hands and knees; we're about to dive into methods that actually work, making those dirty grout lines a distant, unpleasant memory.
The Grout Conundrum: Why It Gets So Grimy
Before we jump into the fun stuff (cleaning!), it’s worth understanding why grout seems to attract dirt like a magnet. Grout, you see, is inherently porous. Unlike the smooth, often glazed surface of your tiles, grout is a cement-based mixture, which means it has tiny microscopic pores. These pores act like sponges, eagerly absorbing spills, dirt, grease, and even microscopic particles of soap scum from your daily showers or kitchen activities. Over time, these absorbed particles build up, staining the grout a shade darker, dingier, or sometimes, even a rather unappealing orange or green from mildew. That's why simply mopping your tile floor often doesn't cut it for the grout itself – the dirt has penetrated deeper than surface-level.
Identifying Your Grout's Nemesis: What Kind of Dirt Are We Fighting?
Knowing your enemy helps in winning the battle. Is it general foot traffic dirt? Are we talking about kitchen spills – grease, coffee, wine? Or perhaps it’s the bathroom, battling soap scum, mildew, and hard water stains? The type of grime often dictates the best way to clean grout lines in tile floor. For instance, soap scum and hard water respond beautifully to acidic cleaners, while greasy kitchen stains might need something more alkaline. Mildew, on the other hand, requires a fungicidal approach. A quick assessment of the dominant stain type in your specific area will guide you to the most effective cleaning solution, saving you time and effort in the long run.
Your DIY Arsenal: Home Remedies for Cleaning Grout Lines
Before reaching for potent chemicals, many homeowners find incredible success with simple, everyday household ingredients. These home remedies for cleaning grout lines are often gentler on your grout (and your wallet!), proving that sometimes, the simplest solutions are the best. What you'll need is often already in your pantry or under your sink.
The Power Duo: Baking Soda and Vinegar for Tile Grout Lines
Ah, the classic science fair volcano – but for cleaning! The combination of baking soda and vinegar for tile grout lines is a powerhouse, especially against general dirt, grime, and even some milder mildew. Here’s how you do it: First, create a thick paste with baking soda and a little water. Apply this paste generously along your dirty grout lines. Let it sit for about 10-15 minutes, giving the baking soda a chance to work its magic and absorb odors and loosen grime. Next, fill a spray bottle with white vinegar. Lightly spray the vinegar over the baking soda paste. You'll notice a satisfying fizzing reaction – that's the acidic vinegar reacting with the alkaline baking soda, creating a gentle scrubbing action that lifts the dirt. After the fizzing subsides, let it sit for another 5-10 minutes. Then, using a stiff-bristled brush (an old toothbrush or a grout brush works wonders), scrub the lines vigorously. Rinse thoroughly with clean water, and prepare to be amazed at the difference!
Lemon Juice: A Bright Idea for Bright Grout
For those who aren't keen on the vinegar smell or need a slightly different acidic punch, lemon juice is an excellent alternative. Its natural acidity is fantastic for cutting through soap scum and hard water stains, leaving a fresh, clean scent behind. Simply squeeze fresh lemon juice directly onto the grout lines or dilute it slightly with water if you prefer. Allow it to soak for about 15-20 minutes, then scrub with a brush and rinse well. Just be cautious with colored grout, as strong acids can sometimes cause fading, though natural acids are generally mild enough not to cause issues with sealed grout.
Hydrogen Peroxide: The Gentle Brightener
For more stubborn stains or a touch of whitening power, hydrogen peroxide is a reliable friend. It’s a mild bleaching agent that effectively tackles mildew and helps to brighten discolored grout without the harshness of chlorine bleach. Apply 3% hydrogen peroxide directly to the grout lines, letting it sit for about 15-20 minutes. You might see some bubbling, which indicates it’s actively working. Scrub with your brush, then rinse clean. For really tough spots, you can even mix it with a bit of baking soda to create a paste for extra scrubbing power.
Stepping Up Your Game: Commercial Grout Cleaners for Floors
Sometimes, DIY just isn't quite enough, especially when dealing with years of built-up grime or specific, challenging stains. This is when commercial grout cleaners for floors truly shine. The market offers a vast array of products, from oxygenated cleaners to heavy-duty degreasers and acid-based solutions. When choosing a commercial product, always read the label carefully to ensure it's suitable for your type of tile and grout, and always, always test it in an inconspicuous area first.
Oxygen Bleach and Enzyme Cleaners
For general discoloration and mildew, oxygen bleach (like OxiClean) is a fantastic, non-toxic alternative to chlorine bleach. It works by releasing oxygen bubbles that lift stains from the porous grout. Mix it according to package directions, apply it to the grout, let it sit for several hours (or even overnight), then scrub and rinse. Enzyme cleaners are another great option, especially for organic stains like food spills, pet accidents, or grease. These cleaners contain beneficial bacteria that literally 'eat' away at the organic matter causing the stain, making them highly effective for certain types of dirt.
Heavy-Duty Solutions: When to Use the Big Guns
For extremely ingrained dirt, deep stains, or stubborn grease, you might need a stronger alkaline or acid-based cleaner. Alkaline cleaners (often containing degreasing agents) are excellent for kitchen floors where grease and oil are common. Acidic cleaners, on the other hand, are highly effective against rust, mineral deposits, and excessive soap scum, particularly in bathrooms. However, a crucial caveat: *never* use acidic cleaners on marble, travertine, or limestone tiles, as they will etch and damage the stone. Always check your tile type before using any strong cleaner, and wear protective gloves and ensure good ventilation when using these more potent products.
Mastering the Technique: Tips for Cleaning Floor Grout Effectively
Having the right cleaner is only half the battle; technique matters! To truly learn how to remove stains from grout lines and ensure a thorough job, consider these practical tips:
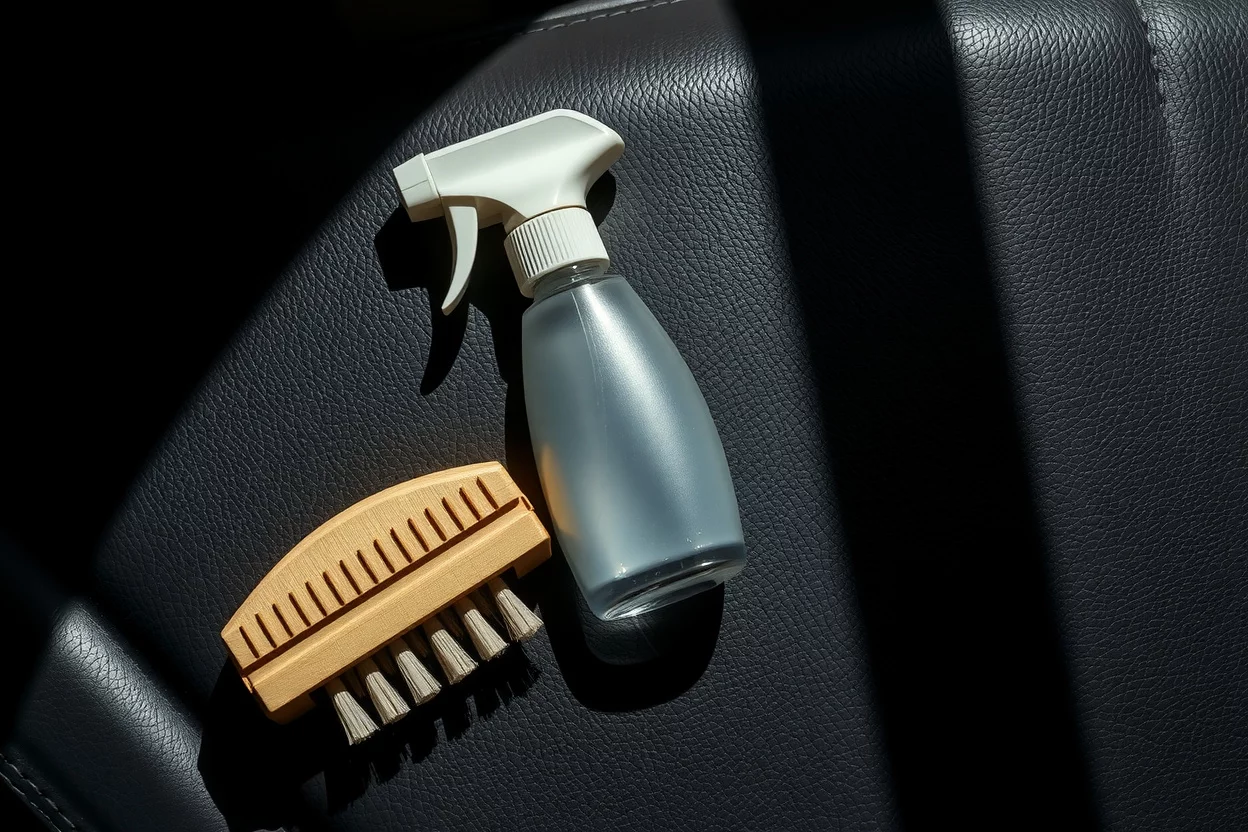
- Arm Yourself with the Right Tools: A stiff-bristled brush specifically designed for grout is invaluable. An old toothbrush can work for small areas or detail work, but a larger grout brush will save your back and knees. A spray bottle for applying solutions, a bucket for rinsing, and plenty of clean rags are also essential.
- Work in Sections: Don't try to clean your entire floor at once. Tackle one small section (e.g., 2x2 feet) at a time. This allows the cleaner to sit and work effectively without drying out, and ensures you can rinse properly before moving on.
- Let It Soak: Resist the urge to scrub immediately. Most cleaners, whether DIY or commercial, need time to penetrate the grout and loosen the grime. Give them at least 10-20 minutes, sometimes longer for stubborn stains. This 'dwell time' is crucial.
- Scrub with Vigor (But Not Recklessly): Apply firm, consistent pressure with your brush, scrubbing back and forth along the grout lines. The goal is to agitate the loosened dirt without damaging the grout itself.
- Rinse, Rinse, Rinse: After scrubbing, thorough rinsing is paramount. Use a bucket of clean water and a sponge or mop, frequently changing the water. Any residue left behind can attract dirt faster or leave a hazy film. You might even want to do a final rinse with plain water after the initial rinse.
- Address Stubborn Stains Individually: Sometimes, a particular dark spot just won't budge. This is where you might need to try a targeted approach. For example, a paste of baking soda and hydrogen peroxide left on overnight can work wonders on isolated mildew spots.
- Ventilate: Especially when using commercial products, ensure the area is well-ventilated by opening windows and doors. This protects your respiratory health.
The Ultimate Defense: Sealing Your Grout
Once you’ve put in the hard work to get your grout looking pristine, you’ll want to keep it that way for as long as possible, right? This is where grout sealing comes in. Sealing your grout creates a protective barrier over those porous lines, preventing dirt, spills, and moisture from penetrating. It’s a simple process that typically involves applying a liquid sealer with a brush or applicator, letting it dry, and sometimes applying a second coat. While it won't make your grout entirely maintenance-free, it will significantly extend the time between deep cleans and make future cleaning much, much easier. Most experts recommend sealing grout every 1-3 years, depending on traffic and location. It's an investment that truly pays off, keeping those beautiful, clean grout lines looking fresh for longer.
Reclaim Your Floors: A Sparkling Future Awaits
Tired of seeing those once-clean grout lines turn into a constant visual reminder of neglected chores? It's time to put those fears to rest. Whether you opt for the simplicity of baking soda and vinegar for tile grout lines or deploy the targeted power of commercial grout cleaners for floors, the methods are there. Cleaning grout doesn't have to be an overwhelming task; it's about understanding the problem, choosing the right solution, and applying a bit of elbow grease with smart technique. Imagine stepping onto a floor where every tile, every line, gleams with renewed freshness. It's not just about a cleaner house; it's about the satisfaction of transforming a space, of making your home truly sparkle from the ground up. So, grab your brush, choose your weapon, and prepare to bring those neglected grout lines back to life. Your floors—and your peace of mind—will thank you for it!